Thursday, November 29, 2012

Shopping Main Street Grinnell & an Iowa gift idea


I decided to skip the craziness known as Black Friday this year (I'm not a fan of the Black Friday sales starting on Thanksgiving night), so I asked my sister to join me on a Small Business Saturday trip to a place I've never been to before but always wanted to visit -- Grinnell, Iowa.

My family knows that I have to take pictures whenever we do anything together.  You can tell my sister (who is expecting a little girl in March!) is thrilled about taking photos. In the 20 degree temps.  I look like Rudulph, with my nose so bright!


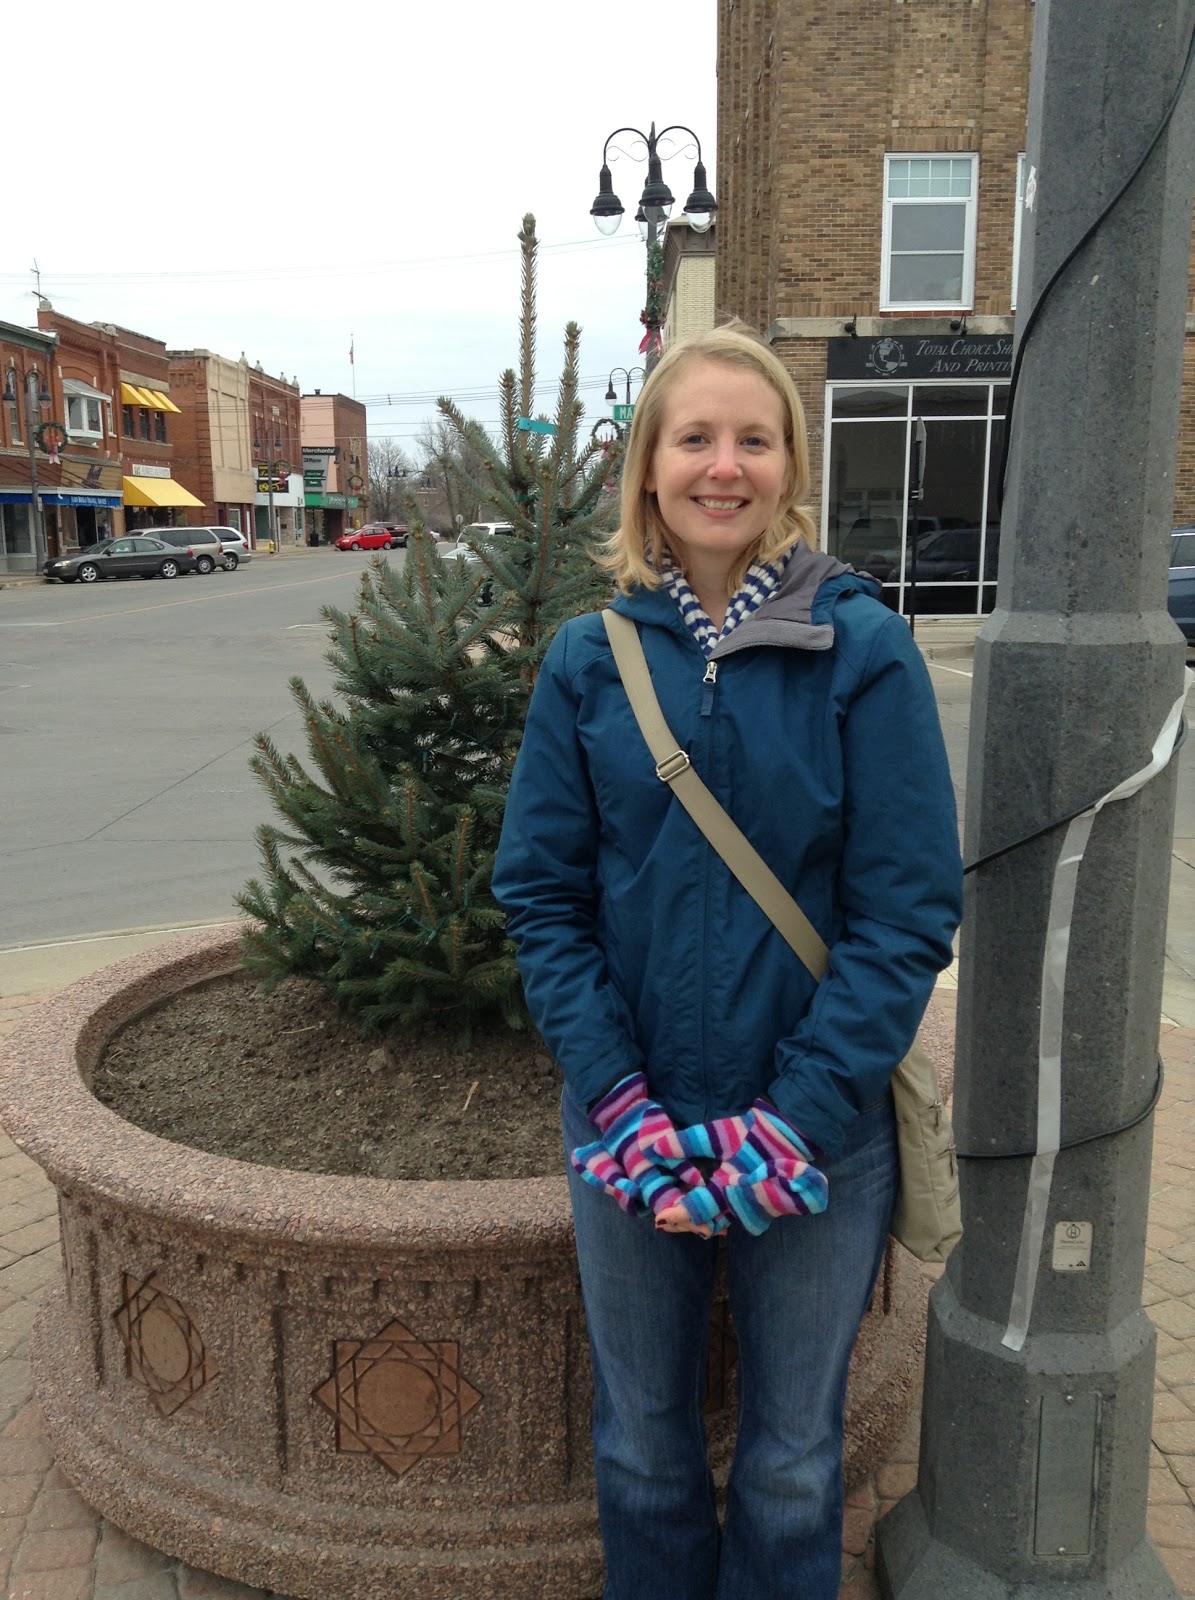
We're not used to the cold temps yet (it was 80 degrees early in the week), so I didn't take my gloves off to take more pictures outside.  But we found several neat little shops in downtown Grinnell, including a shoe store, a Hallmark store with lots of fun holiday gifts, a flower/gift shop with beautiful home decor items (I'm already planning to go back when I have a little more cash after the holidays) and a kids clothing store that had the most delicious kids clothing (my sister wants to go back there after the holidays).

There were also several restaurants downtown.  We ended up at a Mexican restaurant (I didn't catch the name), but the food was excellent and a perfect warm up on a cold day.  My sister orders Cherry Cokes whenever we eat out together.


I ordered the "Speedy Gonzalez" lunch special: one enchileda, one taco, refried beans and Spanish rice.


And even though I had pumpkin pie for breakfast (I love Thanksgiving leftovers), I had to order the churros.  Don't they look festively arranged in a star shape?


We made a good dent in our Christmas gift list. And while I'm talking about Christmas gifts, I wanted to share with you a little present I bought myself from one of my favorite Iowa artists.  I order a calendar from the Steel Cow Gallery in Waukon, Iowa, every year for my office.  I love the colorful cow paintings. One day, I'm going to buy a big cow print, if I can only figure out where to put it in my house.


You can order a cow calendar, or other fun items like cow magnets and Christmas ornaments, on the Steel Cow Gallery website.

Did you shop on Small Business Saturday?  Or are you a die-hard Black Friday fan? I understand why people like to shop on Black Friday -- the awesome deals and festive atmosphere -- but I just didn't want to get up early this year.

Friday, November 23, 2012

Blue-ribbon pumpkin & pecan pies


Happy belated Thanksgiving, everyone!  I'm still full after our Thanksgiving feasting yesterday.  My husband and I stayed home again this year, and we made Thanksgiving dinner for ourselves.  Pretty much everything turned out really well this year, except for a new sweet potato recipe I tried in the slow cooker, so I won't be sharing that recipe with you all.

Our Thanksgiving meal, clockwise from bottom left: glazed sweet potatoes, homemade stuffing, turkey & gravy, and green bean casserole (my favorite!).

I also tried out a couple new pie recipes I found in one of my old Iowa State Fair cookbooks.  They both turned out pretty good. However, once again, I didn't bake the pecan pie long enough, and it didn't set and ended up runny.  I don't blame the recipe, however.  I just didn't give it enough time in the oven, but I needed the precious oven space for all the other side dishes I was making at the time.

Here are the two blue-ribbon pie recipes I tried this Thanksgiving.  Both were super-easy and delicious.  Enjoy!

-------------------------------------------------------------------

Harvest pumpkin pie

3 eggs, beaten
16-oz. can solid pack pumpkin
3/4 C. packed brown sugar
1/2 tsp. salt
1 tsp. cinnamon
1/2 tsp. ginger
1/4 tsp. ground cloves
1/4 tsp. nutmeg
12-oz. can evaporated milk
Pastry for single-crust 9-inch pie

Beat eggs lightly. Add pumpkin, brown sugar, salt, cinnamon, ginger, cloves, nutmeg and evaporated milk. Pour into pie shell. Bake in 425 degree oven 15 minutes. Reduce oven temperature to 350 degrees. Bake 40 to 50 minutes more. Cook on wire rack.

-------------------------------------------------------------

Pecan pie

  • 3 eggs
  • 3/4 C. sugar
  • 1/4 tsp. salt
  • 1 C. dark corn syrup
  • 1/2 C. butter or margarine, melted
  • 1 C. pecan halves
  • Pastry for single-crust 9-inch pie

Beat egg slightly. Add sugar and salt; stir until dissolved. Stir in corn syrup and melted butter; mix well. Fold in pecans. Pour into pastry-lined pie pan. Cover edge of pie with foil. Bake in 350 degree oven 25 minutes. Remove foil; bake 25 minutes more or until knife inserted off center comes out clean. Cool on rack.

Tuesday, November 20, 2012

BH&G's Chocolate Chip Cookies


I like to visit the local bookstore on my lunch break, and I always tell myself not to buy another cooking magazine, but then I always end up buying one anyway.  I discovered the new Better Homes and Garden's Chocolate special interest publication, and there were so many fun recipes that I couldn't resist buying yet another magazine.

A few days later, I found these fancy chocolate chips at World Market, which I thought was a good excuse to try the BH&G's chocolate chip cookie recipe in the magazine.


It turns out that these chocolate chips were "super" because of their gigantic size.  I wasn't sure how many of these huge chips I could squeeze into each cookie. It turned out, quite a few.


This recipe makes a lot of cookies, which is great because I love to give away cookies to my friends and family.  How cute are these?


And I like how the recipe uses both butter (for flavor) and shortening (for texture).  Here's the recipe if you want to try them at home. Or better yet, pick up a copy of the BH&G's Chocolate magazine while it's still on the shelves for more great recipes.

----------------------------------------------------------------------------------

BH&G's chocolate chip cookies

  • 1/2 C. butter, softened
  • 1/3 C. shortening or vegetable oil
  • 1 C. packed brown sugar
  • 1/2 C. granulated sugar
  • 1/2 tsp. baking soda
  • 2 eggs
  • 1 tsp. vanilla
  • 2-3/4 C. all purpose flour
  • 1, 12-ounce package semisweet chocolate pieces
  • 1-1/2 C. chopped walnuts, pecans or hazelnuts, toasted if desired (optional)

Preheat oven to 375 degrees. In a large mixing bowl, beat butter and shortening with an electric mixer on medium to high speed for 30 seconds. Add brown sugar, granulated sugar, baking soda and salt. Beat until mixture is combined, scraping sides of bowl occasionally. Beat in eggs and vanilla until combined. Beat in as much of the flour as you can with the mixer. Stir in any remaining flour. Stir in chocolate pieces and, if desired, nuts.

Drop dough by rounded teaspoons 2 inches apart onto ungreased cookie sheets. Bake for 8 to 9 minutes or until edges are lightly browned. Cool on cookie sheet for 2 minutes. Transfer to wire racks and let cool.


Friday, November 16, 2012

Roasted pumpkin seeds


When I made pumpkin puree at home, I make sure to save the seeds.  I usually roast the pumpkin seeds in butter, but I wanted to try a healthier recipe.  I found this roasted pumpkin seeds recipe from Simply Recipes. The recipe uses olive oil instead of butter. Also unusual, you are supposed to boil the pumpkin seeds in salted water before roasting.  I gave the recipe a whirl, and it was pretty good. I still like the butter version better though :) It's definitely a fun recipe to try.

Tuesday, November 13, 2012

Pumpkin bread


 I was absolutely craving pumpkin bread last weekend, so I baked up this easy pumpkin bread recipe from King Arthur Flour.  I mixed up the recipe as written, except I added a teaspoon of cinnamon because I think pumpkin and cinnamon are the perfect pairing -- like chocolate and peanut butter.

Instead of canned pumpkin puree, I roasted a few pie pumpkins that I bought earlier this fall from the DeMoss family farms at the North Grand Farmers Market in Ames.  Here are easy instructions on how to roast pumpkins at home.


I recommend trying to get as much water out of the pumpkin puree as you can so whatever you are baking (pumpkin bread or pie) doesn't turn out soupy.  I placed the pureed pumpkin in a fine-mesh sieve over the sink and let the water drain out for about 10 minutes.


OK, so not the greatest pumpkin bread photo, but I didn't have much time before my husband and I gobbled it up!

Are you making plans for Thanksgiving already?  I bought a turkey for 98 cents a pound at our local Fareway store.  I'm not too picky when it comes to buying turkey.  I just look for the best deal and hope I don't overcook the bird :)

Friday, November 9, 2012

Homemade ketchup


One of the reasons why I grew so many tomatoes this year was because I wanted to make ketchup from scratch.  My husband still raves about the ketchup that his grandma made when he was a kid. I've never had anything but the bottled stuff, but I was more than willing to give it a try.

I found an easy, small-batch recipe in the Canning special interest publication that Better Homes and Gardens published last year. (If BH&Gs publishes it again next summer, be sure to pick up a copy. It's got a ton of terrific canning recipes.)

I tried out the recipe last year and loved it.  So as soon as I had ripe tomatoes this summer, I tried out the recipe again.  Unfortunately, I wasn't paying close enough attention when the tomatoes were simmering down, and I ended up burning my first batch of the year!

I didn't have enough time (or tomatoes) to make another batch right away.  But now that all the green tomatoes I picked from last month's freeze are ripe, I gave the ketchup recipe another whirl.  I was very, very careful not to burn it this time.  It took forever, but I ended up with a beautiful batch of ketchup!

Now if you're making ketchup at home, keep in mind that it won't be as thick as the ketchup you get from the bottle.  My husband said he remembers that his grandma's ketchup was a a little runny. He would dip hot dogs in the ketchup. In fact, that's still the way he eats hot dogs -- instead of squeezing ketchup on top, he dips it like a French fry.

Here's the recipe I got from Better Homes and Gardens.  Just remember, don't rush the "simmering" stage, even if it takes longer than the 2 hours called for in the recipe.

------------------------------------------------------------

Homemade ketchup

  • 8 pounds tomatoes
  • 1/2 C. chopped onion
  • 1/4 tsp. cayenne pepper
  • 1/4 C. sugar
  • 1 C. white vinegar
  • 1-1/2 inches stick cinnamon, broken
  • 1-1/2 tsp. whole cloves
  • 1 tsp. celery seeds
  • 1 Tbl. salt

Wash tomatoes. Remove stem ends and cores. Cut tomatoes into quarters. In a stainless steel pot, combine tomatoes, onion and cayenne pepper. Bring to boiling, stirring often; reduce heat. Simmer, covered, for 15 mintues, stirring often.

Press tomato mixture through a food mill. Discard seeds and skins. Return tomato mixture to same pot. Add sugar. Use a ruler to measure the depth of the mixture; make a note of the depth. Bring to boiling, stirring until sugar dissolves; reduce heat. Simmer, uncovered, for 1-1/2 to 2 hours or until mixture is reduced by half, stirring occasionally.

In a small saucepan, combine vinegar, cinnamon, cloves and celery seeds. Bring to boiling. Remove from heat. Strain vinegar through a fine-mesh sieve into tomato mixture; discard spices. Add salt. Simmer, uncovered, for about 30 minutes more or until ketchup is desired consistency; stirring often.

Ladle hot ketchup into hot, sterilized half-pint containers, leaving 1/2-inch headspace. Wipe jar rims; adjust lids.

Process filled jars in a boiling-water canner for 15 mintues (start timing when water returns to boiling). Remove jars from canner; cool on wired racks.

Tuesday, November 6, 2012

Dehydrating tomatoes


Remember all those green tomatoes I picked in October before the first frost?


Well, slowly (very slowly!), the tomatoes have ripened over the past few weeks.  I've kept them stored in a couple wicker baskets. Once a week, I pick out the ripe tomatoes and either freeze them whole (after boiling the peels off) or cut them up for the dehydrator.


I bought this dehydrator as a birthday present for my husband a few years back, not knowing if we would actually use it that much.  But we use it all the time -- and all year round.  When we're not drying tomatoes, we're drying pears, carrots, apples and herbs, just to name a few.

My husband likes to add the dried tomatoes and carrots in pasta dishes.  He calls it his own version of hamburger helper :)


I love the mix of yellow and red dehydrated tomatoes in the mix.  My husband has already requested that I grow the "Orange Blossom" tomatoes again next year. One plant yielded a lot of yellow (insect-free) fruit.

Do you have a dehydrator at home? What have you tried to dry in it?

Thursday, November 1, 2012

Planting tulips


 My husband and I took advantage of what may be the last weekend before the snow flies (ugh, I hope winter doesn't arrive early!) and cleaned up our garden and yard.  I planted a few tulips in scattered places around my garden, in a likely fruitless attempt to keep the tulips hidden from the squirrels.

Last year, I forgot where I planted some of the tulips, and then I was surprised when the tulips popped up in a random spot.  So this year, I tried to take photos so I wouldn't forget where I planted them.


I also planted a few new irises to add a little more variety to my spring garden.  I'm trying to stick with a yellow and purple color scheme for the spring.

I didn't spend a lot of money on tulips this year, because the squirrels always seem to dig a few up.  Is it just me, or are the squirrels being extra "squirrel-y" this week?  This squirrel was freaking out right in front of me. Either it's because the little guy is preparing for winter, or maybe because my husband saw a hawk up in our tree :)


Yep, the squirrels are already digging in the garden.
 

So far, the squirrels haven't found the tulips. So I'm keeping my fingers crossed that they won't!
Related Posts with Thumbnails